Index.
- Introduction.
- Create certificate and keys.
- Install OpenVPN GUI.
- Run in bridged mode.
- Run in routed mode.
09-Jul-2011: initial release.
01-Sep-2013: updated for XCA certificate creation.
Introduction.
In the OpenVPN bridge article you could see how to setup the server side. Now we show the client side on Windows 7. We use the OpenVPN GUI that you can get from the official OpenVPN download page, it’s in the latest Windows installer.
One of the problems with this GUI is that if you edit the configuration using the internal editor on Windows 7 or Vista, you cannot save the changes because you have no Administrator rights in the config directory. In order to do so you need to start the GUI as Administrator. To do this, right click the GUI icon, then run as Administrator. You may need to exit the taskbar icon first. For normal use, you don’t need to run as Administrator.
Create certificates and keys.
OpenVPN client source
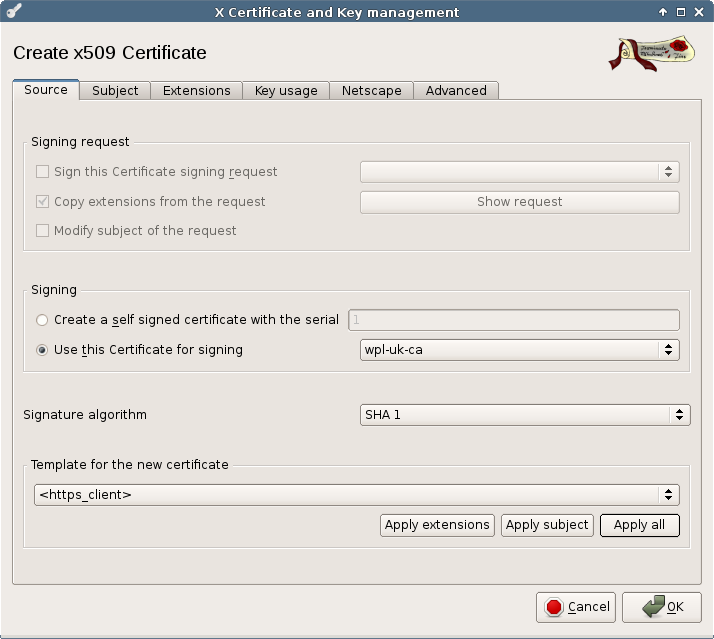
Using your certificates setup generate certificates for the Windows machine with the XCA program.
Use your wpl-uk-ca as root certificate and as template use HTTPS_client. Press Apply all before you go to the next tab.
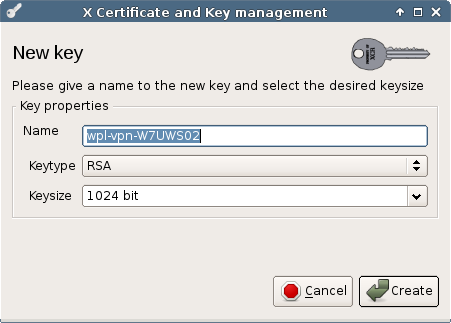
Generate key
In the subject tab, choose Generate a new key to create a key for our new certificate.
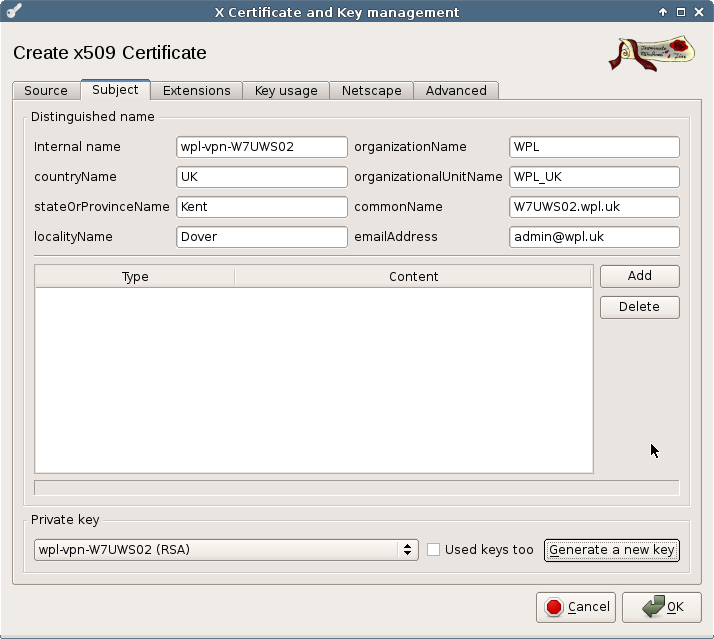
Subject tab
Fill in the internal name and commonName. The commonName should be the windows machine name with the wpl.uk domain suffix.
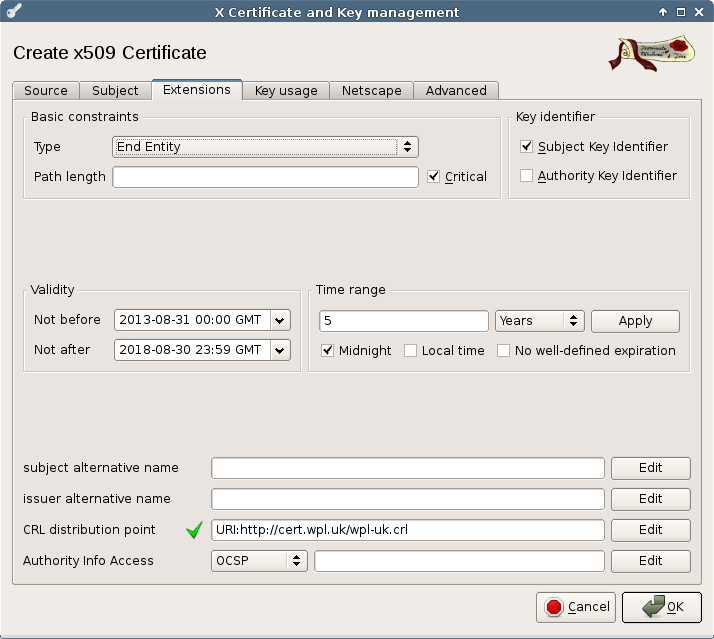
Extensions tab
Most values should be fine for a normal client.
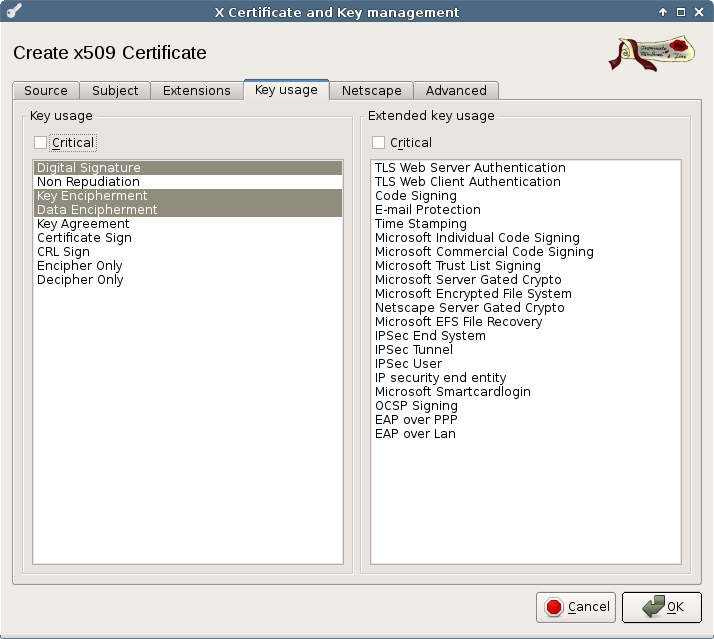
Key Usage tab
This should be fine for a normal client. Press Ok to create the certificate.
Export the key and certificate and put them on a USB stick. From the home server, also copy /etc/openvpn/homsrv-tap/ta.key as ta-wpl.key to the USB stick.
Then copy /etc/certs/wpl-uk-ca.crt to the USB stick/
Add the following configuration file as homsrv.ovpn to the USB stick:
#
# Linux OpenVPN client config at W7UWS02 to vpn.mbse.eu
#
script-security 2

# Specify that we are a client and that we
# will be pulling certain config file directives
# from the server.
client

# Use the same setting as you are using on
# the server.
# On most systems, the VPN will not function
# unless you partially or fully disable
# the firewall for the TUN/TAP interface.
dev tap

# Windows needs the TAP-Win32 adapter name
# from the Network Connections panel
# if you have more than one.  On XP SP2,
# you may need to disable the firewall
# for the TAP adapter.
dev-node "Local Area Connection 2"

# Are we connecting to a TCP or
# UDP server?  Use the same setting as
# on the server.
proto udp

# The hostname/IP and port of the server.
# You can have multiple remote entries
# to load balance between the servers.
remote vpn.wpl.uk 1194

# Keep trying indefinitely to resolve the
# host name of the OpenVPN server.  Very useful
# on machines which are not permanently connected
# to the internet such as laptops.
resolv-retry infinite

# Most clients don't need to bind to
# a specific local port number.
nobind

# Try to preserve some state across restarts.
persist-key
persist-tun

# SSL/TLS parms.
# See the server config file for more
# description.  It's best to use
# a separate .crt/.key file pair
# for each client.  A single ca
# file can be used for all clients.
ca wpl-uk-ca.crt
cert wpl-vpn-W7UWS02.crt
key wpl-vpn-W7UWS02.pem

# Verify server certificate by checking
# that the certicate has the nsCertType
# field set to "server".  This is an
# important precaution to protect against
# a potential attack discussed here:
#  http://openvpn.net/howto.html#mitm
#
# To use this feature, you will need to generate
# your server certificates with the nsCertType
# field set to "server".  The build-key-server
# script in the easy-rsa folder will do this.
ns-cert-type server

# If a tls-auth key is used on the server
# then every client must also have the key.
tls-auth ta-wpl.key 1

# Select a cryptographic cipher.
# If the cipher option is used on the server
# then you must also specify it here.
cipher AES-128-CBC

# Enable compression on the VPN link.
# Don't enable this unless it is also
# enabled in the server config file.
comp-lzo

# Set log file verbosity.
verb 3

# Silence repeating messages
mute 20
This homsrv.ovpn file must be DOS formatted. You can use dos2unix to convert a Linux written config to DOS format.
Install OpenVPN GUI.
On the laptop, install the OpenVPN GUI. The files on the USB stick must then be copied to C:\Program Files\OpenVPN\config. You need to do this copy as Administrator. After you start the OpenVPN GUI you can control the connection with the icon in the taskbar. If all goes well, after you connect you should have got a IPv4 and IPv6 address from your Home Server. Remember that the server works in bridge mode, so both IPv4 and IPv6 dhcp servers of your Home Server provide addresses and other data to our Windows client. Note that a standard XP client only gets a IPv4 address.
I noticed one thing, if you already got a IPv6 address before you started OpenVPN, Windows keeps using that IPv6 address, even while it got a new address from our Home Server. I don’t know if this is caused by Windows or OpenVPN that is not yet full IPv6 aware. If you original only started with a IPv4 address (in most cases that is true), the IPv6 connection will routed via your Home Server as it should be. I have seen this with OpenVPN versions 2.1.3 and 2.2.1.